Adding scenery to a permanent Hornby railway layout
A permanent Hornby layout can give a very poor experience if there's nothing more than tracks and trains. A Hornby railway layout really comes alive when some scenery is added, things like:
- Stations
- Buildings
- Signals
- Signal boxes
- People
- Fences
- Trees
- Livestock
- etc...
This article explains one way to add scenery to your Hornby layout. This method requires little skill but will need some artistic ability.
For this article we have produced a small N gauge demonstration layout built with spare materials left over from other projects. This base board is approximately 18" (450mm) x 12" (300mm). The scene is an old railway yard with a single terminating track adjacent to a hillside.
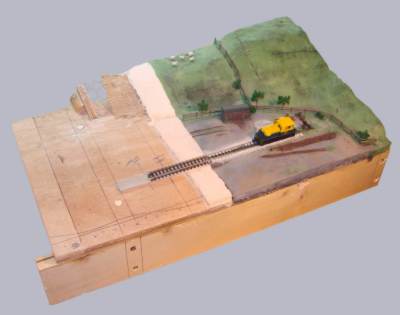
This is the completed scene we have produced to demonstrate the process. We have used mainly paint effects and also an old van, some scrap track, a buffer kit, fencing kit, model trees, cement, sand and some model sheep.All these materials are standard items available at your local DIY store, hobby stores and on-line.
As this is a demonstration piece small amounts of the layout remain unfinished showing the processes used.
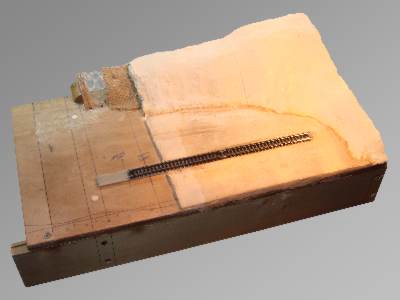
This is our starting point. The hillside and yard are finished in plaster of paris and PVA painted. The track has been fitted and electrically connected under the base board.
The track is secured to the Funky Foam with a bead of super glue ensuring every sleeper is attached.
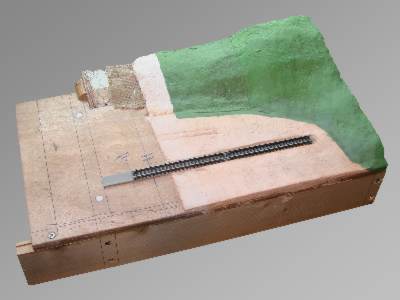
To start we painted the hillside with a base green colour. All the paints used are tester pots from Dulux emulsion obtained very cheaply from a local DIY store.
The paint is applied with a sponge which is also used to mix the green with a little mid grey and black paint giving some effect to the base colour. We'll build more colour effects onto the hillside later in the process.
The sponge used was an old washing up sponge.
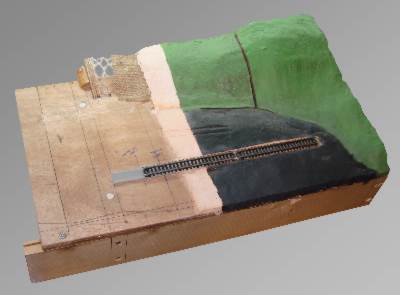
The yard base coat of paint was added next. Again we used the sponge to mix and apply the paint. Based on black with a little mid grey gives a good base onto which more colour effects can be built.
Making the paint effects look more real is about building up additional layers as can be seen later.
The gap left around the track for the ballast can be more easily seen too.
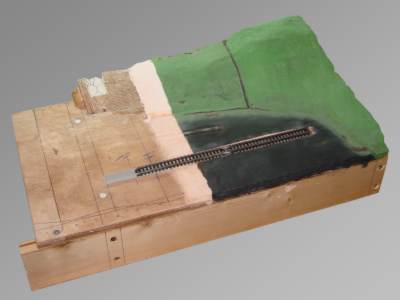
At this point we've added brown paint to the hillside ditches and added some paint effect to the muddy track way.
Again only base colouring at this time.
To achieve a muddy brown colour we mixed red with black and mid grey. The mid green was mixed with a little white and yellow to achieve a more pale green colour.
These details were added with a small paint brush.
A more detailed image of the basic yard painting.
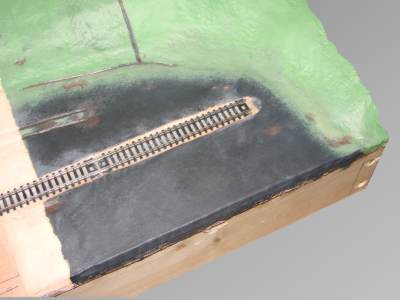
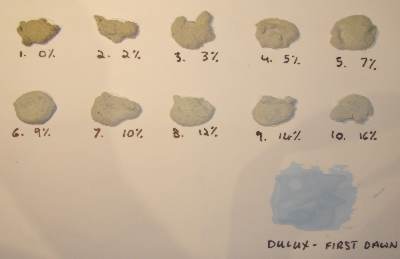
The ballast for the track is made from sharp sand, cement, water and PVA. The sand and the cement are mixed 1 part sand to 1 part cement. The water and PVA are mixed 1 part PVA to 4 parts water.
With this mix the sand brings a red tone and the cement a green tone giving a greeny red colour, sample 1 in this picture.
To make a neutral ballast grey colour pale blue paint is added. This is the colour chart we produced to determine the amount of paint to add. We selected sample 6, 9% by weight of paint.
This is what the ballast looks like once mixed and applied to the railway layout. We've also added a ballast heap to the side of the track and another at the end of the track.
The sharp sand gives the ballast a realistic look as the sand particles are the right scale to represent the ballast stones.
The yard has been over painted with a mid grey colour applied with the sponge. Additional lighter and darker tones have also been added to the hillside, again with the sponge.
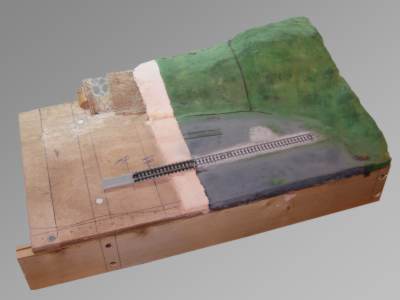
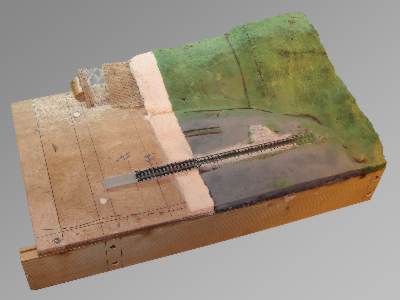
Once fully cured and dry the ballast is painted to give it age. Old oil, grease and dirt dropped by locomotives will leave a dirty line down the centre of the tracks. This is more prevalent where the locos are stopped or moving slowly.
The ballast at the end of the track is painted green to represent grass and moss. This is where the buffer stop will be located.
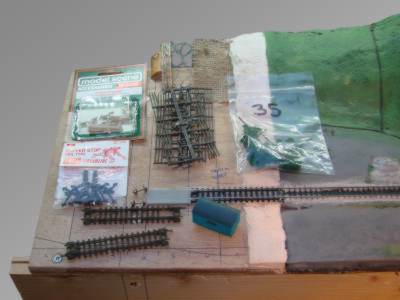
These are the scenery items to be added to the hornby railway layout. There are, old track pieces, old van body, axles, buffer stop, fences, trees and even some sheep for the hillside.
All these items were purchased on-line or were just spares we happen to have. The van body and wheels came from the same scrap van.
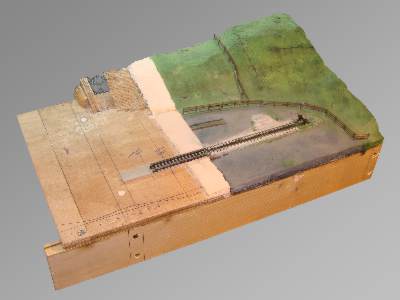
The fencing and the buffer stop have been added to the layout. There are two lines of fencing, one around the yard and one dividing two fields on the hillside.
The buffer stop is added above the area of ballast painted to look like grass and moss. The buffer stop is from a kit purchased on-line.
Both the fence posts and the buffer stop are secured to the layout with super glue.
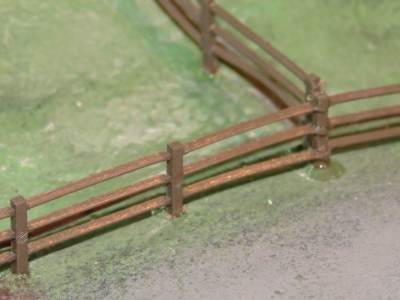
This is a detail image of the fencing. The fencing is from a kit purchased on-line.
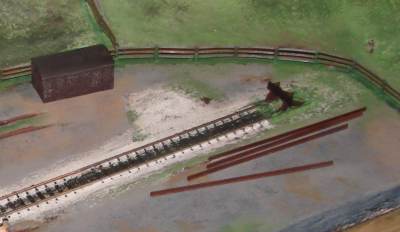
The van has been painted in the usual dirty colours using the sponge to become a typical railway yard shed.
The track rails have been removed from the sleepers and painted to look rusty.
Both are being trial fitted to check the positions are OK.
A sandy colour is also added the yard in patches.
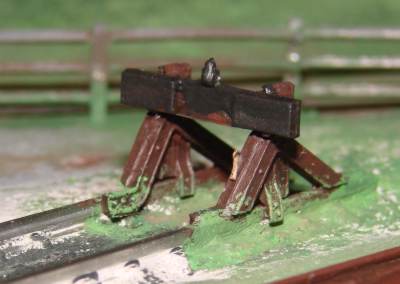
This shows the detailing on the buffer stop. The rails are painted a rust colour and the beam is a very dark grey colour.
Green paint has been added to the base of the buffer stop to hide the super glue but also to look like grass and moss. This continues the grass and moss from under the buffer stop.
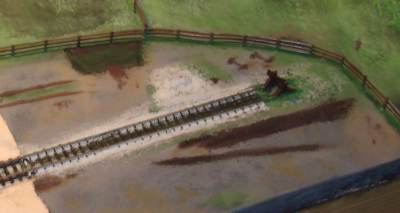
Before the shed, track rails and axles are fitted to the baseboard we painted the ground under and around these scenery items.
This was done before the scenery items are fitted as access will not be as good after they're fixed into position.
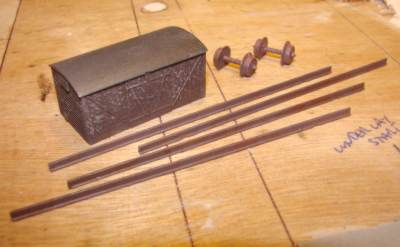
This is the shed, track rails and axles painted and ready to be fitted to the layout.
Note how the flanges on the wheels have been removed to make it look like the flanges have sunk into the ground.
There's nothing clean and pristine in this old railway yard.
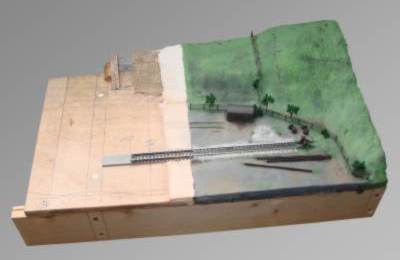
At this point the shed, track rails, axles, trees and bushes have been fitted.
The model trees were purchased on-line and the bushes were created from cutting down the trees.
All of these scenery items are secured with super glue to the layout.
A more detailed image of the shed, track rails, axles, trees and shrubs. Some green paint has been applied to the shed and track rails to simulate grass and moss.
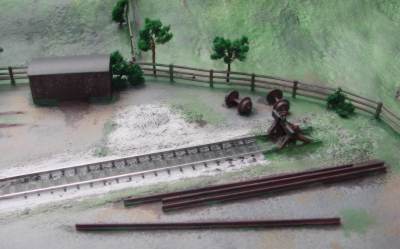
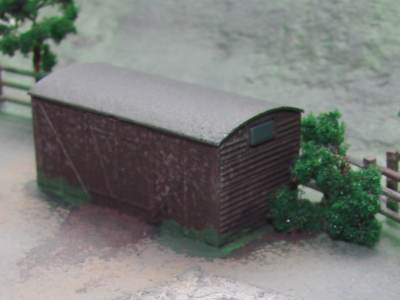
A more detailed image of the shed with the bushes.
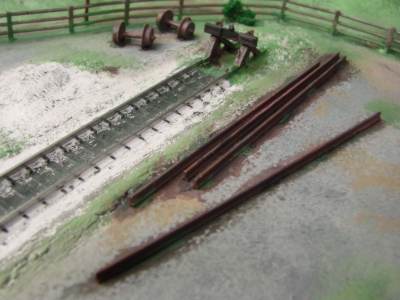
This image shows the track rails, axles and buffers in detail.
A little additional paint detailing has been added around the track rails.
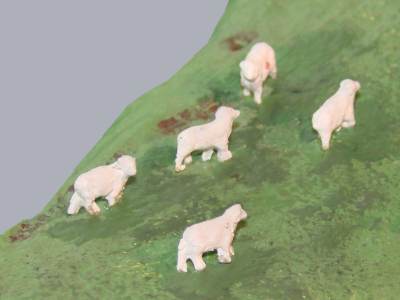
Finally, some model sheep are added to the hillside. The model sheep were purchased on-line.
This is the completed scenery for the model railway layout.
We have used mainly paint effects and also an old van, some scrap track, a buffer kit, fencing kit, model trees, cement, sand and some model sheep.
All these materials are standard items available at your local DIY store, hobby stores and on-line.
As this is a demonstration piece small amounts of the layout remain unfinished showing the processes used.
