Adding height to a permanent Hornby layout base board
A permanent Hornby layout base board can give a very 2 dimensional (or flat) experience. Going into the third dimension by adding height and depth to a layout can seem a daunting task but the rewards are really worth it. With height you can have:
- Hillsides
- Mountains
- Bridges
- Viaducts
- Tunnels
- Cuttings
- Ditches
- etc...
This article explains one way to add height to your Hornby base board. This method requires little skill but will need some wood working capability.
For this article we have produced a small N gauge demonstration layout built with spare materials left over from other projects. This base board is approximately 18" (450mm) x 12" (300mm). The scene is an old railway yard with a single terminating track adjacent to a hillside.
This is the completed hillside we have produced to demonstrate the process. We have used plywood off cuts, chicken wire mesh, hessian cloth and plaster of paris. The track underlay is cut from a sheet of 2mm thick Funky Foam to suit N gauge.All these materials are standard items available at your local DIY store, hobby stores and on-line.
As this is a demonstration piece small amounts of the layout remain unfinished showing the processes used.
Once the hillside general form is developed then hillside support templates are cut from corrugated cardboard. These can be shaped and re-shaped until you have your desired shape.
These templates are secured to the base board at fixed intervals with masking tape. Each template is individually numbered as is the base board position for each template.
The supports are spaced 70mm apart from one another.
When the hillside templates give the hillside shape needed the template shapes were marked out on a piece of left over plywood. These were then cut with a jigsaw.
Additional quarter round wood sections are used to add strength where the supports are secured to the baseboard.
Here the support pieces are being trial fitted to the baseboard.
The hillside supports are glued into position along with their support pieces. Standard wood glue is used for this.
These joints aren't visible on the finished layout so being generous with the glue is of no concern.
For this demonstration piece a small amount of the hillside will remain unfinished.
A more detailed image of hillside support number 4.
With all the woodwork completed the wood is sealed with PVA. This will also help the plaster of paris adhere to the surface.
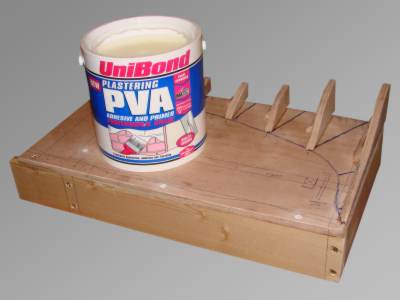
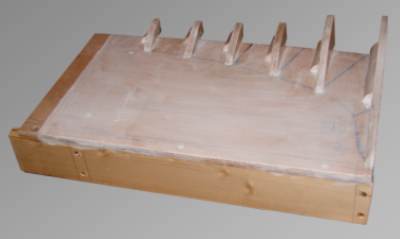
This is the base board generously painted with the PVA. All the woodwork is treated to provide a full seal.
As this is a demonstration piece a small strip on the left has not been painted.
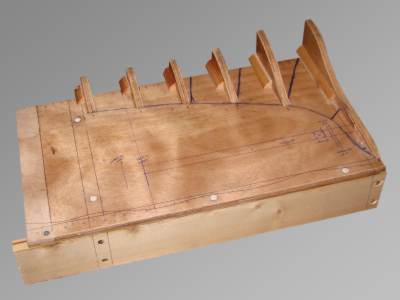
This is what it looks like once the PVA has fully dried. It dries to clear and looks more like a varnish finish now.
Only one coat of PVA is required.
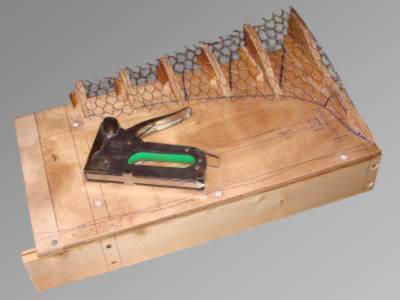
The next step is to add a fine mesh chicken wire over the hillside supports. We used chicken wire with an aperture size of approximately 15mm x 20mm.
The chicken wire is cut to shape and a staple gun used to secure the chicken wire to all the hillside supports and the baseboard.
The chicken wire can then be manipulated into the desired shape. Try to avoid the chicken wire from sagging into the gaps between the hillside supports.
The chicken wire is trimmed and the wire ends folded under to remove the sharp edges.
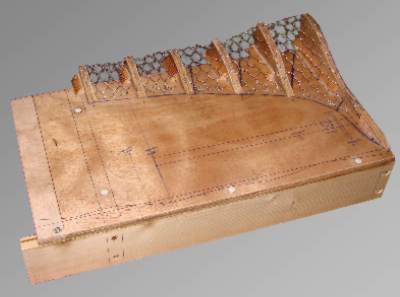
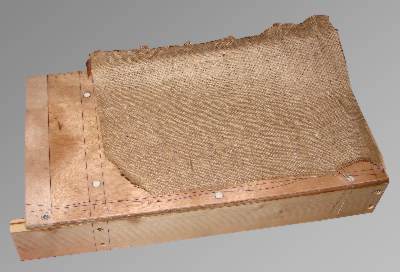
To support the plaster of paris a layer of hessian fabric is used. This rough fibrous material will give the plaster of paris plenty to adhere to.
The hessian is cut roughly to shape before fitting and trimming.
The hessian is secured to the wooden support pieces and base board with staples using the staple gun.
The hessian should be pulled fairly tightly to prevent any sagging or unwanted wrinkles. It should follow the shape of the chicken wire and not alter the shape set by the chicken wire.
Trim off the excess and any loose strands from the hessian.
For this demonstration piece a small amount of chicken wire is left exposed.
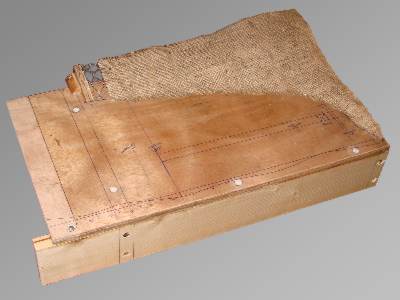
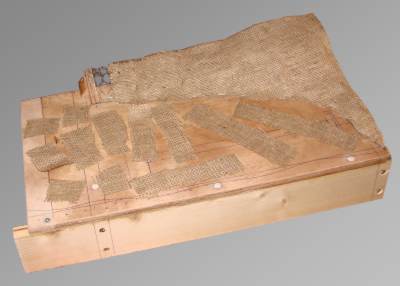
Hessian strips are cut about 25mm (1 inch) wide and in varying lengths. These are used later to reinforce the plaster of paris.
Mix 1 part PVA to 9 parts water and combine fully. The plaster of paris is then added to the water PVA mix to give the desired creamy consistency.
The plaster of paris is then applied to the hillside with a standard 25mm (1 inch) paint brush. Ensure all the hessian is covered and leave to harden.
Working time with plaster of paris is around 15 minutes so to cover a large area work in small sections a batch at a time.
For this demonstration piece a small amount of hessian is left exposed.
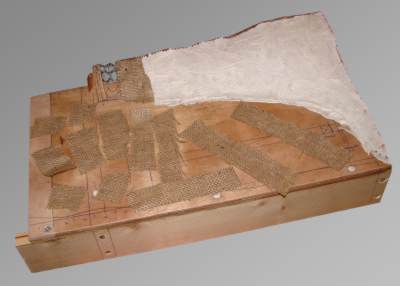
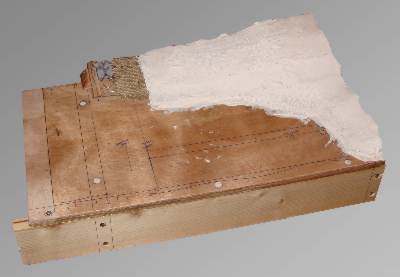
Once the initial layer of plaster of paris is fully hardened the second, thicker layer is built up. This time adding the hessian strips to reinforce the plaster of paris.
Lay the strips in varying directions to add more strength. Again, a 25mm (1 inch) paint brush is used to apply the plaster of paris. The same PVA water mix is used and again work in small section to cover large areas.
The advantage of plaster of paris is the ability to mould different shapes and forms as it cures, e.g. a drainage ditch down the hillside.
Funky Foam is used as a track underlay. At 2mm thick this raises the track the equivalent of 300mm (1 foot) above the board or ground level. It also gives some noise insulation keeping the trains quieter.
Grey Funky Foam is used as it will be less noticeable under the grey ballast.
The funky foam is secured to the baseboard with a generous bead of No Nails adhesive. This allows the track to be level should the base board be uneven.
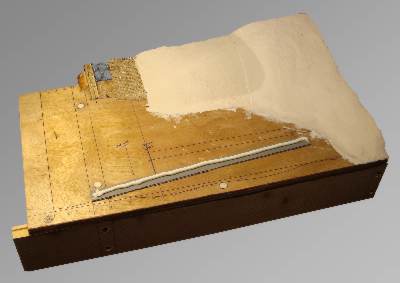
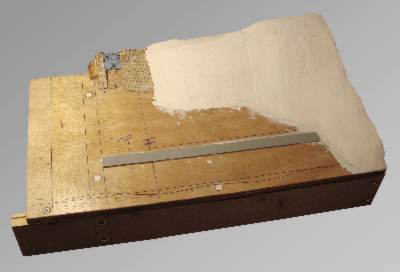
This is the track underlay in position in the yard area of this layout. A steel rule is used to ensure the top face of the Funky Foam is completely level.
Plaster of Paris mixed with a little soft builders sand is applied to create the railway yard surface. The same water PVA mix was used as before.
It is common in railway yards for the ground surface to be level with the top surface of the track sleepers. With the funky foam this gives a thickness of 4 mm for the plaster of paris.
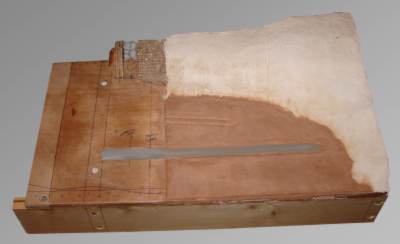
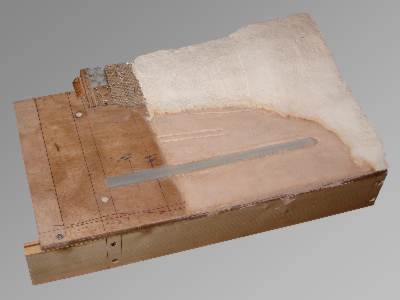
This is with the plaster of paris fully dried. Space has been left around the Funky Foam to clear the track and to give room for the ballast.
Even though the ground level is generally the same as the top of the sleepers the track is still supported by traditional ballast.
The yard surface is also merged into the hillside surface to give a more realistic change from yard to hillside.
This image shows some of the yard surface detail. There's a rutted track and at the base of the hillside a drainage ditch. The general surface is a little uneven just like in real life.
If no details are required in the yard surface then 4mm thick MDF or plywood could be used to build the necessary height.
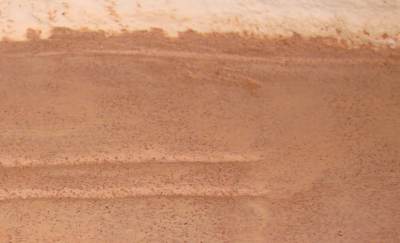
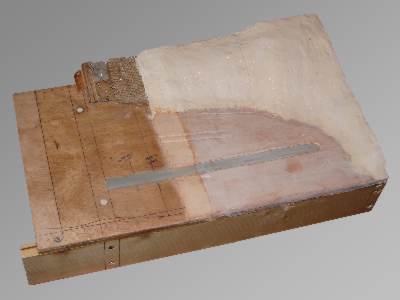
Finally the plaster of paris is sealed with a coat of PVA.
For this demonstration piece a small amount of plaster of paris is left exposed.